
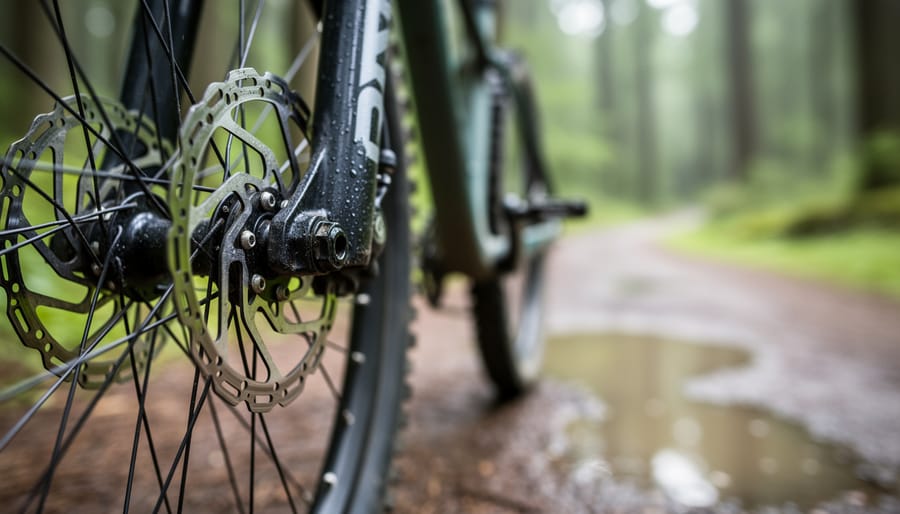
If you’re asking about car brake pads, they typically last between 25,000 and 70,000 miles depending on driving conditions and pad material. But if you’re a cyclist who landed here, bicycle brake pads work very differently and don’t measure lifespan in miles the same way.
Here’s the reality: bike brake pads can last anywhere from 500 to 2,000 miles for rim brakes, and 1,000 to 3,000 miles for disc brakes. But those numbers are just rough estimates. Your actual mileage depends on terrain (mountain descents devour pads faster than flat commutes), weather (wet conditions wear pads more quickly), pad material, and how often you brake. Some riders check their pads every few weeks, while others only inspect them when braking feels less responsive.
The good news? You don’t need a mechanic to figure out when your bike brake pads need replacing. Learning to inspect and assess your pads yourself gives you control over your safety and saves you from being stranded mid-ride with worn-out stopping power. Whether you ride road, mountain, or commute daily to work, checking your brake pads is a straightforward skill that takes just a few minutes and requires minimal tools.
This guide walks you through exactly how to inspect your bicycle brake pads, recognize the warning signs of wear, and determine when it’s time for new ones. You’ll learn the differences between rim and disc brake pad inspection, what normal wear looks like versus dangerous thinning, and how to verify your brakes are working properly after any maintenance.
Understanding Brake Pad Lifespan: Cars vs. Bikes
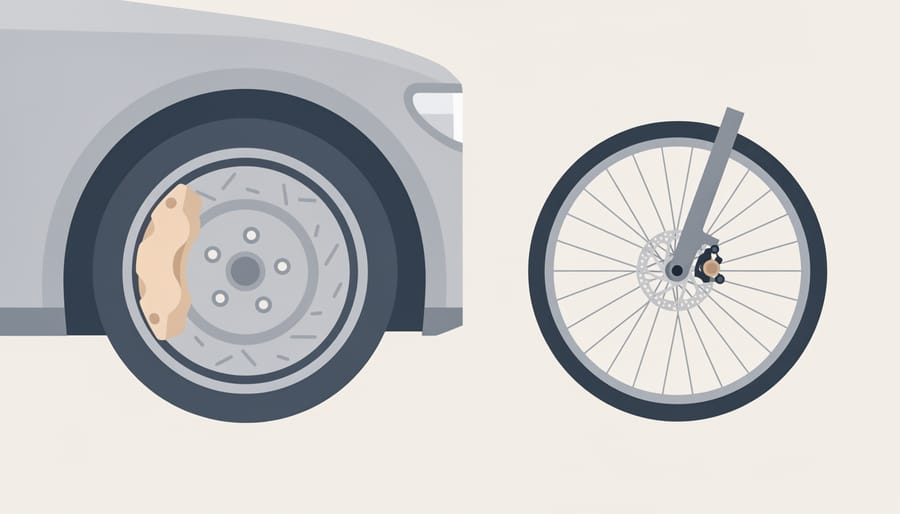
If you searched “how many miles do brake pads last,” you were probably wondering about your car. That makes complete sense, automotive brake pads are measured in miles driven, and most drivers can expect anywhere from 25,000 to 70,000 miles before replacement, depending on driving habits, pad material (ceramic, semi-metallic, or organic), and whether you’re doing mostly highway or city driving. Your car’s odometer gives you a straightforward tracking method.
Bicycle brake pads work on completely different logic. We don’t measure bike pad lifespan in miles traveled because your odometer (if you even have one) doesn’t tell the real story. What matters is how often and how hard you brake. A cyclist who rides 2,000 flat miles with minimal stopping might get more life from their pads than someone who rides 500 mountainous miles with constant descents and heavy braking.
Instead of watching your bike computer’s mileage, you’ll need to inspect your pads visually and pay attention to how your brakes feel and sound. Rim brake pads wear down their rubber compound against your wheel’s braking surface, while disc brake pads compress organic or sintered material against metal rotors. Weather plays a huge role too, riding in wet, gritty conditions eats through pads faster than dry-weather cycling.
This difference matters because as a cyclist, you can’t rely on a simple mileage number to know when it’s time for new pads. You need to learn what to look for and check regularly. That’s exactly what we’ll cover in the sections ahead, giving you the knowledge to keep your brakes safe and effective.
What You Need to Monitor Your Brake Pads
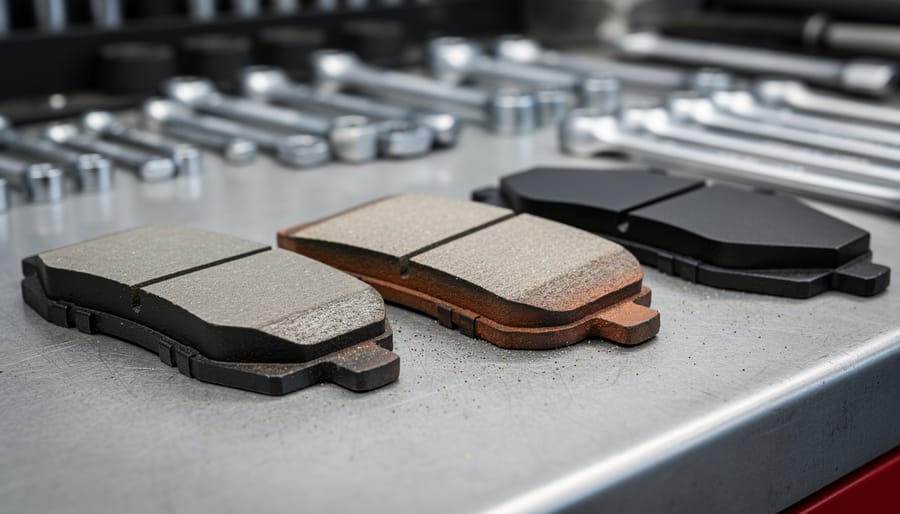
Checking your brake pads doesn’t require a professional mechanic’s workshop. You can inspect your bicycle brakes with a few basic items you probably already have at home, plus maybe one or two inexpensive additions. Having everything ready before you start makes the process quicker and less frustrating, especially if you’re new to bike maintenance.
Here’s what to gather:
- Allen keys or hex wrenches (typically 4mm, 5mm, or 6mm for most brake systems)
- Flashlight or work light to see into tight spaces around calipers
- Clean rag for wiping away dirt and grime
- Ruler or dedicated pad wear indicator to measure remaining material
- Replacement pads appropriate for your brake type (rim or disc specific)
- Isopropyl alcohol for cleaning disc brake rotors and pads
If you’re inspecting disc brakes, you might also want disposable gloves to keep oils from your skin off the pads and rotors. A bike stand or wall hook that holds your bike upright makes the job easier, though you can also flip your bike upside down if needed. The total investment is minimal, and once you have these basics, they’ll serve you for years of routine checks.
Don’t feel intimidated if this is your first time. Brake inspection is one of the most straightforward maintenance tasks you can learn, and mastering it gives you real confidence in your bike’s safety systems.
Safety First: When to Stop Riding and Check Your Brakes
Your brakes are your most critical safety system, and recognizing warning signs of wear can prevent accidents and injuries. If you hear high-pitched squealing when you brake, especially if it’s consistent rather than occasional, your pads may be getting thin or contaminated. A grinding or scraping noise is more serious, it often means the pad material has worn through and metal components are making contact.
Reduced stopping power is another clear signal: if you need to pull your brake levers harder or closer to the handlebars than usual to slow down, something’s wrong. Vibration or pulsing through the brake lever when you squeeze it can indicate uneven pad wear or a warped rotor. Sometimes contamination from road grime or oil causes these symptoms, and you can clean your brake pads to restore performance, but worn pads need replacement.
Riding on severely worn pads isn’t just slower, it can damage your wheels or rotors, turning a simple pad replacement into an expensive repair. If you notice any of these symptoms, stop and inspect your brakes before your next ride.
How to Check Your Bicycle Brake Pads: Step-by-Step

Checking Rim Brake Pads
Rim brake pads, whether on caliper, cantilever, or V-brakes, should show clear grooves or tread patterns when they’re in good shape. Hold your bike steady and look straight at the pad surface pressed against the rim. You’re checking thickness and condition, not just giving it a quick glance.
Healthy pads are at least 3mm thick from the metal holder to the rubber surface. Some pads have small grooves cut into the rubber to help channel water away; once those grooves disappear, it’s time for replacement. The pad should contact the rim squarely, not angled up toward the tire or down toward the spokes.
Watch for uneven wear patterns. If one end of the pad looks significantly thinner, your brake needs adjustment. Hardened, glazed rubber that feels smooth and shiny won’t grip well, especially in wet conditions. Small embedded metal particles from the rim are normal, but chunks missing from the pad or deep gouges mean immediate replacement.
Check both sides of each wheel. It’s common for the rear brake to wear differently than the front, and one pad per brake may wear faster if the caliper isn’t centered. If you spot any pad thinner than a 5p coin, replace both pads on that brake, not just the worn one.
Checking Disc Brake Pads
Inspecting disc brake pads requires a closer look since they sit inside the caliper. Start by positioning your bike so you can see into the caliper from above, you might need a flashlight. Look through the gap where the rotor passes between the pads. Each pad has a metal backing plate, and you should see the pad material (the friction surface) attached to it. If the backing plate is clearly visible through the pad material or the pad looks less than 1-2mm thick, it’s time for replacement.
For a better view, you may need to remove the wheel. Before doing so, never squeeze the brake lever with the wheel off, as this can cause the pistons to extend too far. When the wheel is out, you can see both pads clearly from the side. Check for uneven wear, sometimes one pad wears faster than the other, indicating a caliper issue. Also inspect for glazing (a shiny, hardened surface) or embedded debris. Handle the pads carefully and avoid contamination from oils or cleaning products, which can ruin braking performance. If you’re uncertain about what you’re seeing, take a photo and compare it to your pads when they were new, or ask at your local bike shop.
How Long Do Bicycle Brake Pads Actually Last?
Unlike car brake pads with their neat 25,000-70,000 mile estimates, bicycle brake pads don’t come with a simple mileage answer. There’s no odometer calculation that works because bikes rely on different physics, your braking power depends on how often you squeeze those levers, not how far your wheels have rolled.
A commuter riding flat city streets might get 2,000-3,000 miles from a set of rim brake pads, while a mountain biker tackling steep, technical descents could burn through disc pads in 500 miles or less. The difference comes down to heat, friction, and how hard you’re working those brakes.
Brake type matters significantly. Rim brake pads (rubber compounds) wear faster in wet conditions, rain acts like sandpaper, grinding down the material as grit mixes with water. Disc brake pads vary by material: organic (resin) pads offer excellent modulation but wear quicker in muddy or wet riding, lasting perhaps 500-1,500 miles depending on conditions. Sintered (metallic) pads handle heat and moisture better, potentially doubling that lifespan, though they’re harder on rotors.
Your riding style plays an enormous role. Riders who feather their brakes constantly on long descents generate heat that accelerates wear. Heavier riders put more demand on their braking system. Someone carrying panniers for bike touring will replace pads more frequently than an unloaded weekend rider covering the same terrain.
Weather conditions shift the equation dramatically. Wet riding can cut pad life in half compared to dry conditions. Riders in rainy climates or those who commute year-round should expect more frequent replacements than fair-weather cyclists.
Rather than tracking miles, pay attention to your riding environment. If you’re doing lots of descending, riding in wet conditions regularly, or notice your braking feels different, inspect your pads. That hands-on awareness beats any mileage estimate.
Confirming Your Brakes Are Working Properly
After inspecting or replacing your brake pads, a proper test ride ensures everything is working safely. Start in a quiet area with minimal traffic, a parking lot or empty street works perfectly. Begin with gentle squeezes of each brake lever individually to check for responsiveness, then gradually increase pressure while riding at low speed.
Proper stopping power should feel immediate and controlled. Your bike should slow smoothly without pulling to one side, and the lever shouldn’t travel all the way to the handlebar. If you’ve just installed new pads, they’ll need bedding-in: ride at moderate speed and apply firm (not sudden) braking eight to ten times to transfer a thin layer of pad material onto the rotor or rim. This process improves performance and reduces squealing.
After bedding-in and a test ride, verify that everything is working correctly:
- Brake lever feel is firm with no sponginess or excessive travel
- Stopping power is immediate and even on both wheels
- No rubbing or noise during wheel rotation when not braking
- Pads contact the braking surface evenly across their width
- No vibration or pulsing when applying the brakes
If anything feels wrong, spongy levers, uneven braking, persistent noise, or reduced stopping power, don’t dismiss it. Visit your local bike shop for a professional assessment. Keep a simple maintenance log (even just notes in your phone) recording when you checked or replaced pads. This helps you spot patterns in wear and plan ahead, turning brake maintenance from a worry into a routine part of confident riding.
Common Questions About Brake Pad Lifespan
While automotive brake pads have straightforward mileage ratings (25,000-70,000 miles for cars), cyclists often face different questions about their brake pads. The maintenance concerns overlap in principle, but the specifics differ significantly. Here’s what riders ask most often about keeping their bicycle brake pads in top condition.
Do more expensive brake pads last longer?
Not necessarily. Premium pads often prioritize performance, modulation, and stopping power over longevity. Budget-friendly pads sometimes outlast expensive ones, especially in dry conditions, though they may sacrifice braking feel and wet-weather grip.
Can I mix different pad types on my bike?
Avoid mixing pad compounds between front and rear brakes, as this creates inconsistent braking feel and can affect bike control. Stick with the same material type (both organic or both sintered) for predictable performance.
How can I make my brake pads last longer?
Anticipate stops and brake gradually rather than grabbing hard at the last second. Keep your rotors or rims clean, avoid riding through oil or contamination, and use both brakes evenly instead of relying heavily on one wheel.
What’s the actual difference between organic and sintered pads?
Organic (resin) pads are quieter and gentler on rotors but wear faster, especially in wet or muddy conditions. Sintered (metallic) pads last longer and work better in wet weather but can be noisier and feel more aggressive.
Should I replace both wheels’ pads at once?
Replace pads when they’re worn, which doesn’t always happen simultaneously. Your front brake typically wears faster since it handles more stopping force, so check both wheels but replace them independently as needed.
The choice between pad types comes down to your riding conditions and priorities. If you ride year-round in wet climates or tackle long descents, sintered pads make sense despite their higher cost. For fair-weather commuting or casual rides, organic pads offer good value and pleasant performance.
While automotive brake pads come with neat mileage estimates, that 25,000 to 70,000-mile range we opened with, your bicycle brake pads don’t work that way. There’s no odometer telling you when it’s time for new pads. Instead, you’ve got something better: your own eyes and the routine you’ve built.
Regular visual inspections aren’t a chore. They’re your direct line to staying safe and riding confidently. Whether you’re commuting through rain-slicked streets or tackling challenging descents, knowing your brake pads are in good shape changes everything. It transforms worry into certainty.
Make brake checks part of your maintenance rhythm. After wet rides. Before big adventures. Whenever something feels different. This isn’t technical wizardry, it’s a fundamental cycling skill that becomes second nature. You’re not waiting for a mechanic to tell you what’s happening with your bike. You’re seeing it yourself, understanding it, and taking action when needed.
That control? That’s what builds real confidence on the road. Your safety isn’t measured in miles driven. It’s maintained through consistent attention and the simple act of looking closely at what keeps you rolling safely.