
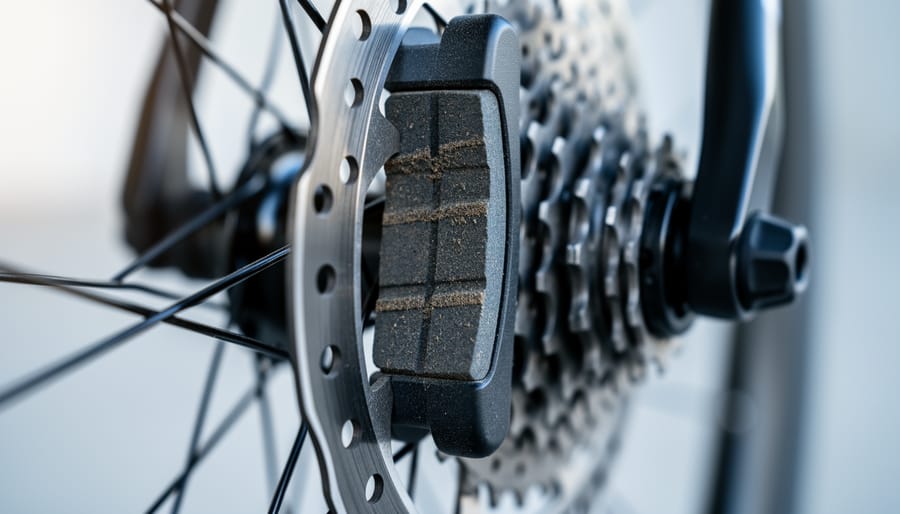
Your brake pads need replacing when the pad material measures 3mm thick or less, or when you notice reduced stopping power, squealing sounds, or visible scoring on the braking surface. Most riders replace their pads every 500 to 2,000 miles, but your personal schedule depends on terrain, weather, and how aggressively you ride.
Knowing when to replace your brake pads isn’t about guessing or waiting for disaster. It’s about reading the clear signs your bike gives you and building a maintenance rhythm that fits your riding life. Some of us commute daily through wet city streets, shredding pads in months. Others ride weekend loops on dry roads and get a full season from one set. There’s no universal timeline that works for everyone, which is exactly why learning to assess your own pads matters more than following a rigid mileage rule.
The good news? Checking brake pads takes about two minutes and requires zero special tools. You’ll learn to spot wear before it becomes dangerous, understand what accelerates pad degradation in your specific riding conditions, and create a replacement schedule tailored to how you actually use your bike. This isn’t complicated mechanical work reserved for bike shop pros. It’s basic bike literacy that keeps you safe and saves money, and you absolutely can master it.
Signs Your Brake Pads Need Replacing Right Now
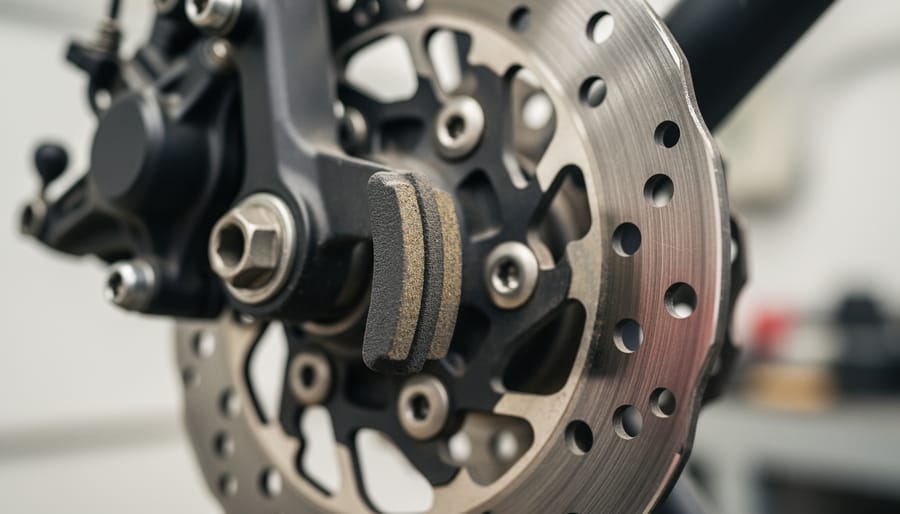
Your brakes shouldn’t make you nervous. If you notice any of these signs, it’s time to replace your pads before your next ride. Trust your instincts: if something feels off, it probably is.
Listen for unusual sounds. A high-pitched squeal when braking often means your pads are worn down to the metal wear indicator. This is your bike’s built-in alert system. Grinding or scraping noises are more serious. They indicate metal-on-metal contact, meaning you’ve worn through the pad material completely. Both sounds are warning signs your bike is giving you. Don’t ignore them.
Feel for reduced stopping power. If you need to squeeze harder than usual to slow down, or if your stopping distance has increased noticeably, your pads are likely too worn to function properly. This is especially dangerous in emergency situations when you need maximum braking force instantly.
Look at your pad material. You can often see the pad thickness without removing your wheel. For rim brakes, check the grooves on the pad surface. If they’re nearly gone, the pads are too thin. For disc brakes, peek through the caliper. If you see 1mm of pad material or less, replacement is overdue.
Check for uneven wear patterns. One pad significantly thinner than the other suggests alignment issues, but both pads still need replacing. Uneven wear compromises braking performance and can damage your rims or rotors if you continue riding.
What You Need to Inspect and Replace Brake Pads
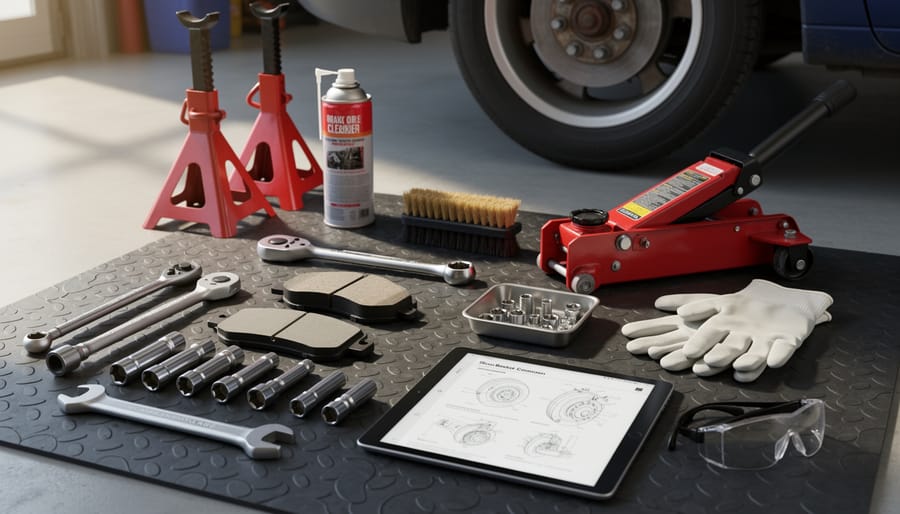
Good news: you probably already have most of what you need to inspect and replace your brake pads. This is one of those maintenance tasks that doesn’t require a fancy bike stand or specialized tools. A simple flat surface, a few basic items, and about 20 minutes is all it takes to get started.
For inspection and replacement, gather these essentials:
- Allen keys (typically 4mm, 5mm, or 6mm depending on your brake system)
- Replacement brake pads matched to your specific brake type and model
- Isopropyl alcohol (90% or higher concentration works best)
- Clean, lint-free rags or paper towels
- Work gloves to keep oils from your hands off braking surfaces
- Needle-nose pliers for removing retaining pins or springs
- Flathead screwdriver (occasionally needed for prying out stubborn pads)
If you ride regularly, you might want to keep a small notebook or use your phone to document inspection dates and pad condition. This simple tracking habit makes it easy to spot patterns in your pad wear and refine your personal replacement schedule over time.
The only item that requires attention is the replacement pads themselves. Brake pads are not universal. You need pads designed for your specific brake model and rim material. Rim brake pads come in different compounds for aluminum versus carbon rims, while disc brake pads vary between organic, semi-metallic, and sintered materials. Check your current pads or brake calipers for model numbers before ordering replacements. Most bike shops can help you identify the right pads if you bring in your old ones or a photo of your brake system.
How to Check Your Brake Pads: Step-by-Step Inspection
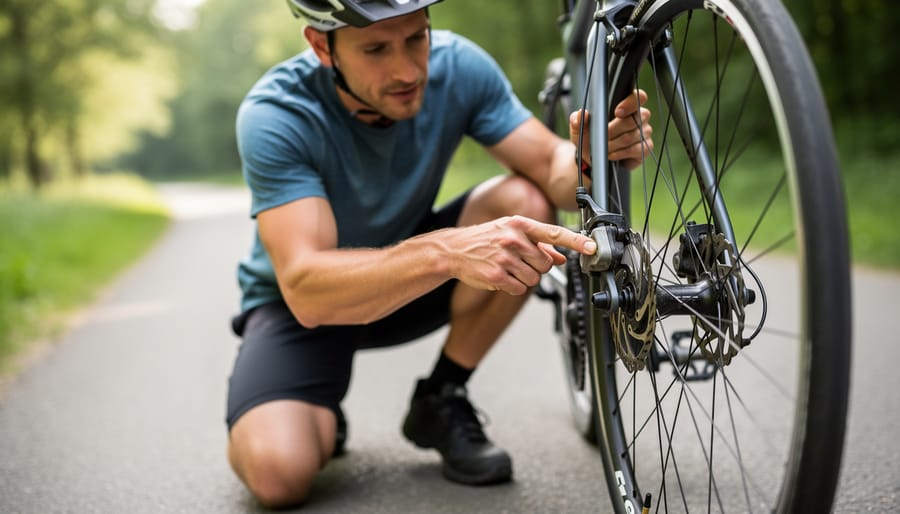
Inspecting Rim Brake Pads
Rim brake pads show their condition through visible wear indicators that are easy to check once you know what to look for. Start by spinning each wheel and watching the pad contact the rim. The pad should strike the rim’s braking surface squarely, not touching the tire or dipping below the rim edge.
Most rim brake pads have grooves molded into their surface. When these grooves disappear completely, you’re approaching replacement time. Measure the remaining rubber compound: if it’s less than 3mm thick, plan to replace soon. At 1-2mm, replace immediately.
Check alignment by observing the gap when the brake is released. The pad should sit parallel to the rim, with even spacing top to bottom. Uneven wear creates a wedge shape that reduces braking power and can damage your rim.
For caliper brakes, look straight down at the pads to spot misalignment. V-brakes and cantilevers let you view the pads more easily from the side. If you see chunks missing, embedded debris, or a hardened, shiny surface, the pads need replacing regardless of thickness.
Inspecting Disc Brake Pads
Disc brake pads hide inside the caliper, so checking them takes a slightly different approach than rim brakes. You have two options: remove the wheel for a clear view, or peek through the caliper opening while the wheel is still on.
With the wheel removed, shine a light into the caliper and look at both pads from the side. You’ll see the friction material (usually dark gray or tan) bonded to a metal backing plate. Measure the pad material itself, not including the backing plate. When the friction material measures 1.5mm or less, it’s time to replace. Some pads have wear indicator grooves that disappear as they wear down.
If you’re checking without removing the wheel, look through the top of the caliper between the rotor and caliper body. This works best with good lighting and might require removing the wheel for a definitive check if visibility is poor.
Pay close attention to contamination. Oil, chain lube, or grease on the pad surface creates a shiny, dark appearance instead of the normal matte finish. Contaminated pads reduce braking power dramatically and usually can’t be saved, they need replacement. Check both the inner and outer pads, as they sometimes wear at different rates depending on caliper design.
For hydraulic systems, also glance at the brake fluid reservoir while you’re checking pads. As pads wear, fluid level drops slightly, this is normal.
Creating Your Personal Brake Pad Replacement Schedule
Generic mileage recommendations can only get you so far. Your brake pads don’t care that “most cyclists” replace theirs every thousand miles, they care about your riding. Building a personalized schedule means paying attention to the specific factors that affect how quickly your pads wear.
Start by tracking your baseline. Note your current pad thickness and mileage, then check again after 100 miles. This gives you a wear rate specific to your current riding conditions. Some cyclists find their pads last 2,000 miles on flat commutes, while others burn through them in 500 miles riding hilly terrain in the rain.
Your terrain matters enormously. If you’re constantly braking down hills, you’ll wear pads three to four times faster than someone riding flat routes. Mountain descents and urban riding with frequent stops accelerate wear compared to steady country roads. Factor in extra inspections if hills dominate your rides.
Weather conditions play a bigger role than most riders realize. Wet conditions can halve your pad lifespan because water reduces friction, forcing you to brake harder and longer. If you ride year-round in rainy climates, plan for more frequent replacements than fair-weather cyclists.
Consider how many miles you typically ride between major inspections, then adjust based on your brake type. Rim brakes usually wear faster than disc brakes, but disc pads can deteriorate quickly in muddy conditions.
Your riding style and cargo load affect the equation too. Aggressive braking, carrying heavy panniers, or pulling a trailer increases the force on your pads. If you regularly haul 20 pounds of groceries, account for faster wear.
Create a simple tracking system. A small notebook or phone app works perfectly. Record inspection dates, pad thickness measurements, mileage, and recent riding conditions. After three or four inspection cycles, you’ll see your personal pattern emerge and can set realistic replacement intervals that match your actual riding life.
How to Replace Your Brake Pads
Replacing your brake pads is one of those maintenance tasks that seems intimidating until you actually do it. The process itself is straightforward, and the sense of accomplishment when you finish is genuinely rewarding. You’ll need about 20 to 30 minutes, a clean workspace, and the confidence that thousands of cyclists before you have done exactly what you’re about to do.
Before you start, gather your tools and new pads, then set your bike in a repair stand or flip it upside down if that’s more comfortable. Put on work gloves to keep your hands clean and protect the new pads from skin oils. If you’re working with disc brakes, avoid touching the braking surfaces with your bare hands throughout the process.
- Release brake tension by opening the quick-release lever on rim brakes or loosening the cable tension. For disc brakes, remove the wheel first to access the caliper.
- Remove the retaining bolt, pin, or clip that holds the old pads in place. Some systems use a single bolt at the top of the caliper, while others have a pin that slides out from the side.
- Slide the old pads out carefully, noting their orientation and which side faces the rim or rotor. Take a photo with your phone if you need a reference.
- Inspect the braking surface, whether rim or rotor, for damage or contamination. This is your chance to clean brake pads and surfaces with isopropyl alcohol and a clean rag.
- Install the new pads in the same orientation as the old ones, ensuring any directional arrows match the wheel’s rotation. For disc brakes, you may need to push the pistons back slightly to create space.
- Replace the retaining hardware, tightening bolts to manufacturer specifications if you have a torque wrench, or snugly if you’re working by feel.
- Reattach the wheel and restore brake tension, checking that pads align properly with the rim or that the rotor sits centered between disc pads.
Make small adjustments to pad position using the adjustment screws or barrel adjuster until you achieve even contact and appropriate clearance. Spin the wheel to verify nothing rubs, and squeeze the brake lever several times to seat the pads properly.
If you’re working with hydraulic disc brakes and the lever feels spongy after installation, the system may need bleeding. This requires additional tools and hydraulic fluid, so consider visiting your local bike shop for this step. There’s no shame in asking for professional help with hydraulic systems. Many experienced cyclists do the same, and shops appreciate customers who handle what they can and seek expertise for the specialized work.
Testing and Verifying Your New Brake Pads
New brake pads need a proper break-in period before they’ll perform at full capacity. Start by finding a safe, traffic-free area like an empty parking lot or quiet residential street where you can test without risking your safety or others’. Begin with gentle stops from low speeds, applying the brakes progressively rather than grabbing them suddenly. Do this 10-15 times, gradually increasing your speed from about 10 mph to 15 mph. You’ll be transferring a thin layer of pad material onto the rotor or rim surface, which creates the friction interface that makes your brakes work effectively.
After bedding in, test your braking power more assertively. From 15-20 mph, apply firm pressure and note how quickly and smoothly you stop. Both brakes should engage at roughly the same lever position and provide even, confident stopping power without pulling to one side. Listen carefully during these test stops: you might hear minor squeaks initially, which often disappear after bedding in, but grinding, rubbing, or persistent high-pitched squealing indicates an alignment problem that needs fixing before you ride.
Spin each wheel and watch the rotor or rim pass through the brake caliper, checking for consistent clearance on both sides. For maintaining proper maintenance safety verify there’s no rubbing during wheel rotation and that the pads don’t contact unevenly. Once you’re confident in quiet conditions, take a short test ride on familiar roads before returning to your normal routes and traffic situations.
Common Questions About Brake Pad Replacement
The questions you’re likely wondering about aren’t silly, they’re practical concerns that come up for every cyclist who takes maintenance into their own hands.
Can I replace just one brake pad instead of the pair?
While technically possible, replacing pads in pairs ensures even braking performance and prevents the newer pad from wearing faster to match the older one. Mixing old and new pads can create uneven braking pressure and unpredictable stopping.
How do I know which replacement pads to buy?
Check your brake manufacturer and model (usually stamped on the caliper), then purchase pads designed for that system. For rim brakes, match the pad compound to your rim material, carbon rims absolutely require carbon-specific pads to avoid damaging the braking surface.
Should I replace both wheels’ brake pads at the same time?
Not necessarily. Front and rear pads wear at different rates, your front brake typically does 60-80% of the stopping work and wears faster. Replace each set when it reaches the wear indicators, but keep spares for both on hand.
What causes uneven pad wear, and should I worry?
Uneven wear usually signals misalignment, a sticking piston, or debris in the brake system. Address the underlying cause before installing new pads, or they’ll wear unevenly too. Sometimes a slight difference is normal, but drastic variation needs investigation.
If you ride seasonally, store your bike with clean brake surfaces and inspect the pads before your first ride back. Winter storage in humid conditions can cause surface corrosion on pads, which typically wears off in the first few stops but signals you should check overall condition. Don’t assume pads are fine just because the bike sat unused, moisture and temperature swings affect brake materials even when you’re not riding. A quick pre-season inspection takes five minutes and prevents discovering compromised brakes during your first enthusiastic downhill of spring.
Regular brake pad inspection isn’t just about bike maintenance, it’s about owning your safety and building cycling confidence from the ground up. By checking your pads before rides and following your personalized replacement schedule, you’re joining a community of cyclists who understand that independence comes from knowing your bike inside and out.
Start with just a quick visual check each week. You’ll quickly develop an eye for what’s normal and what needs attention. That knowledge transforms nervous pre-ride worries into informed confidence. You’ve got the skills now to recognize warning signs, measure pad wear accurately, and replace pads when needed. These aren’t specialized abilities reserved for mechanics, they’re fundamental practices that every cyclist can master.
Your bike responds to how you care for it, and knowing when to replace brake pads means you’re always riding with reliable stopping power. That’s the kind of self-reliance that makes every ride safer and more enjoyable.