
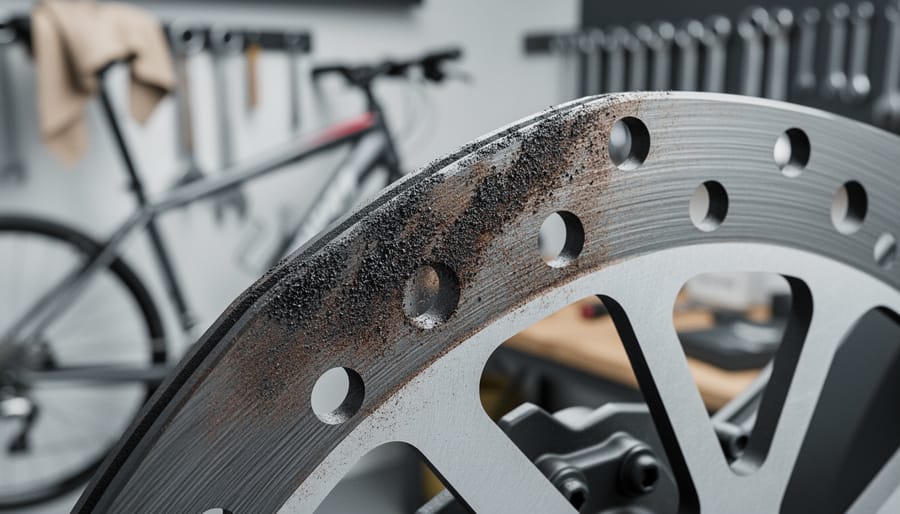
Cleaning your bike’s brake pads removes oil, dirt, and other contaminants that reduce stopping power, and in most cases, you can restore full braking performance in about 15 minutes using isopropyl alcohol and sandpaper. Contaminated brake pads are one of the most common causes of reduced braking performance, whether you ride on road, gravel, or trails, and the fix is surprisingly straightforward.
You’ll know it’s time to clean your pads when you notice your brakes feeling spongy, requiring more lever pressure than usual, or making squealing sounds during braking. Contamination happens gradually through exposure to chain lube overspray, road grime, wet conditions, or even touching the pads with oily fingers during maintenance. Left unchecked, these contaminants embed deeper into the pad material and can transfer to your rotors or rims, creating a cycle that compromises your safety.
The good news? Most contamination issues can be reversed before you need to replace your pads entirely. Catching the problem early saves you money and keeps your braking crisp and reliable. This guide walks you through the complete cleaning process for both disc and rim brake pads, explains how to identify contamination versus normal wear, and shares preventive steps to keep your braking system performing at its best ride after ride.
What Actually Happens When Your Brake Pads Get Dirty
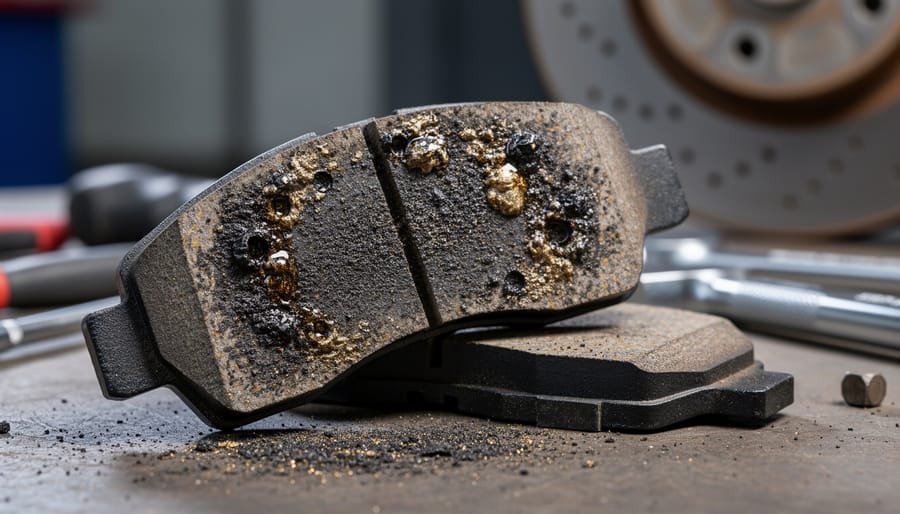
Your brake pads work through friction, that simple contact between pad and rotor is what slows you down. But when oil, dirt, grease, or brake dust settles on that friction surface, everything changes. These contaminants reduce friction by creating a slippery barrier between the materials that need to grip each other. Think of it like trying to stop on a wet floor versus a dry one.
The most common culprits are surprisingly sneaky. Chain lube migrates from your drivetrain. Road spray carries oil and grime up from the pavement. Even touching your rotors or pads with bare hands transfers skin oils. Over time, your brake pads also generate their own fine dust as they wear against the rotor, and this residue can build up and glaze the surface.
The real danger isn’t just that your brakes feel weaker. Contaminated pads create unpredictability. You squeeze the lever expecting your usual stopping power, but nothing happens, or the brake suddenly grabs harder than expected. That split-second of confusion, especially on a descent or in traffic, is genuinely frightening. I’ve experienced that stomach-drop moment of pulling the lever and feeling almost nothing, then overcorrecting and nearly going over the bars when the brake finally caught.
What makes this particularly tricky is that contamination happens gradually. Your braking performance declines so slowly that you might not notice until you really need to stop hard. By then, the contamination has usually worked its way deep into the pad material, not just sitting on the surface.
When to Clean Your Brake Pads
Your brakes will tell you when they need attention, you just need to know what to listen for. That telltale squeal or reduced stopping power isn’t always a sign of worn-out pads. Often, a good cleaning is all they need.
Clean your brake pads when you notice any loss in braking performance, especially if it’s sudden rather than gradual. That spongy feeling when you squeeze the levers or brakes that feel powerful one ride and weak the next? Classic signs of contamination rather than wear.
Seasonal transitions demand extra attention. Spring riding through wet, muddy conditions means weekly checks. After winter storage, clean your pads before your first ride, months of sitting can allow dust and grime to settle on everything. Summer’s dust and autumn’s leaf mould both wreak havoc on braking surfaces.
Some post-ride situations require immediate cleaning. Got chain lube on your hands and then grabbed your brake levers? Clean those pads before your next ride. Rode through an oil slick in the bike lane? Same deal. Transport your bike in a car with the front wheel off? Check for accidental contamination from touching the rotor.
Here’s the key difference: contaminated pads lose power inconsistently and often suddenly. Worn pads fade gradually and evenly. If your pads are thinner than 1.5mm, replacement trumps cleaning. But if they’re thick enough and just not gripping like they should, cleaning solves the problem in fifteen minutes.
What You’ll Need for the Job
Good news: you probably already have most of what you need for this job, and the rest won’t break the bank. This isn’t one of those projects requiring specialized bike shop equipment.
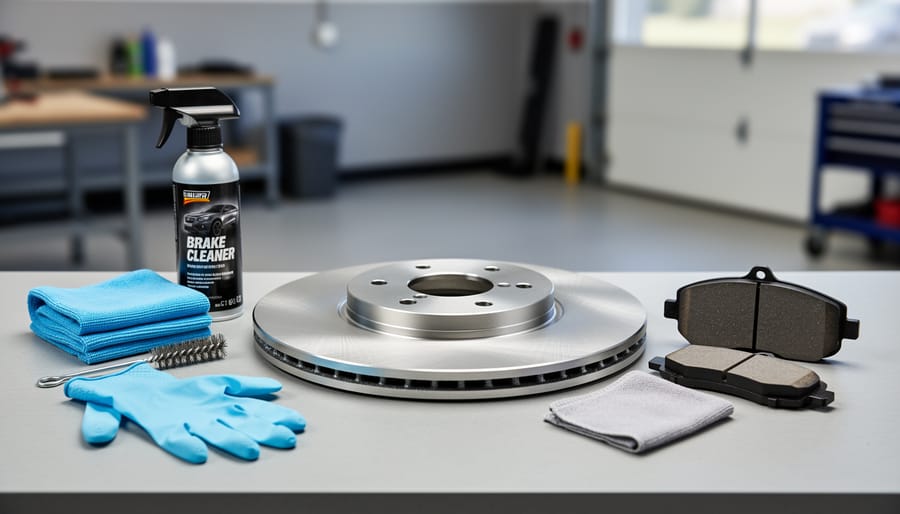
Start with isopropyl alcohol, the higher the percentage the better, 91% or 99% works best. A small bottle from the pharmacy costs a couple of dollars and will last through many cleaning sessions. You’ll also need some clean rags or paper towels that haven’t been anywhere near oil or grease.
For the actual cleaning work, fine-grit sandpaper (around 100-120 grit) is your best friend. Hardware stores sell single sheets for pocket change, and one sheet handles multiple cleaning sessions. If you don’t have sandpaper handy, an emery board or nail file works in a pinch, though it takes longer.
A small container or spray bottle for the alcohol makes application easier, but pouring directly onto your rag works fine too. Some cyclists swear by disposable gloves to keep oils from your hands off the pads, latex or nitrile gloves from any pharmacy do the job.
That’s genuinely it for the essentials. You’ll need your bike’s standard Allen keys or hex wrenches to remove wheels, but those came with your bike or are already in your repair kit. No fancy degreasers, no expensive brake cleaning sprays, no special tools. Total investment if you’re starting from scratch? Under ten dollars.
Step-by-Step: Cleaning Your Brake Pads Like a Pro
Removing Your Wheel and Brake Pads
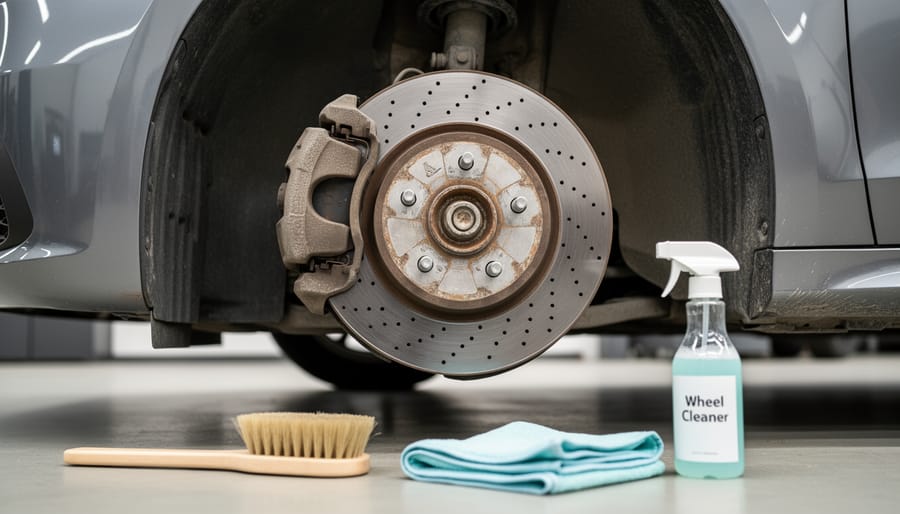
Taking the wheel off is the part that intimidates a lot of cyclists, but honestly? Once you’ve done it a couple of times, you’ll wonder why you ever hesitated.
Start by flipping your bike upside down or securing it in a work stand if you have one. For disc brakes, release the quick-release lever or unscrew the thru-axle, just turn counterclockwise until the wheel slides free. If you’re working on rim brakes, you’ll need to release the brake caliper first by squeezing the arms together and unhooking the cable noodle.
With the wheel off, locate your brake caliper. You’ll see the pads sitting on either side of where the rotor was. Most modern calipers have a small retaining pin or clip holding the pads in place. Gently pull this out, sometimes they’re magnetic, sometimes they slide, and the pads should lift straight up and out. If they’re stuck, a gentle wiggle does the trick.
Don’t worry about springs or little pieces flying everywhere. Just work slowly, and you’ll be fine. Take a photo before removing anything if it helps you remember how everything goes back together.
The Cleaning Process
Grab your sandpaper and let’s get those pads properly clean. Start with 100 or 120-grit sandpaper, and sand the pad surface in one direction, not in circles. You’re removing the contaminated outer layer, so apply firm, even pressure. You’ll see a gray residue form as you work, which is exactly what you want. Sand until you expose fresh, brighter material underneath, usually after 15-20 strokes.
Here’s where many people go wrong: they sand too lightly or give up too soon. You need to remove enough material to get past the contamination, which typically means sanding until the surface looks noticeably different from when you started.
Once you’ve finished sanding, use isopropyl alcohol (90% or higher) to clean the pad. Spray or apply it generously to a clean rag, never spray directly onto the pad, as excess liquid can soak in and cause issues. Wipe the pad surface thoroughly, and you’ll likely see more contamination transfer to the cloth. Keep wiping with fresh sections of the rag until it comes away clean.
Let the pads air-dry completely before reinstalling them. This takes about 10 minutes in normal conditions. Never rush this step by heating them or touching the cleaned surface, your skin’s natural oils will immediately contaminate what you’ve just cleaned.
Cleaning Your Rotors While You’re At It
While you’ve got your wheel off and your brake pads out, this is the perfect moment to clean your rotors, and honestly, you should. Those rotors are the other half of your braking system, and they accumulate the same oils, dirt, and brake dust that contaminate your pads. If you put freshly cleaned pads back against grimy rotors, you’ll recontaminate them almost immediately, defeating the entire purpose of your work.
Grab a clean rag and your isopropyl alcohol (the same 90% or higher you used on the pads). Spray the rotor surface generously, then wipe it down with your rag, working around the entire disc. Flip the wheel and repeat on the other side if it’s a disc brake on both sides. You’ll likely see dark residue coming off on the rag, that’s all the gunk that would’ve transferred right back to your clean pads.
One crucial tip: use a different section of your rag for the rotors than you used for anything else, and never touch the rotor surface with your bare fingers afterward. The oils from your skin will contaminate it instantly. This small extra step takes two minutes and makes a massive difference in how well your brakes perform once everything’s back together.
Preventing Contamination in the First Place
The best brake pad cleaning is the one you don’t have to do. A few smart habits can keep your pads performing reliably and save you from scrambling to restore braking power before your next ride.
Start with mindful bike handling. When lubing your chain, shield your rotors and brake calipers with cardboard or an old cloth. Overspray is sneaky, even droplets you don’t see can migrate onto pads. Apply lube carefully to the chain only, never flooding it, and wipe off excess immediately. The same goes for frame polish or cleaning products: keep them well away from your braking surfaces.
Storage matters more than most riders realize. If your bike lives in a garage where you also work on cars or motorcycles, airborne oil mist settles everywhere, including on rotors and pads. Park your bike away from workbenches and cover it if the space doubles as a workshop. Indoors is ideal, but if outdoor storage is your only option, position the bike where dripping gutters, sprinkler spray, or muddy runoff won’t reach the brakes.
After riding in wet or muddy conditions, give your rotors a quick wipe with isopropyl alcohol and a clean rag before the grime bakes on. This takes thirty seconds and prevents contamination from working its way into the pad material. Similarly, if you’ve touched your rotors while changing a tire or adjusting your wheel, clean them before your next ride.
Regular chain maintenance also protects your brakes. A grimy chain flings oil mist that eventually coats everything nearby, including brake components. Keep your drivetrain clean and you’re automatically protecting your stopping power.
Small prevention efforts compound into thousands of reliable, confident stops.
When Cleaning Isn’t Enough
Sometimes cleaning just won’t cut it, and that’s perfectly okay. Learning to recognize when your brake pads have reached the end of their usable life is a crucial skill that keeps you safe on the road.
Trust your instincts here. If you’ve followed the cleaning process properly and your brakes still feel spongy, grab unpredictably, or make persistent squealing noises, the pads have likely absorbed contaminants too deeply to rescue. Oil that’s penetrated the full depth of the pad material can’t be cleaned out, it’s chemistry, not a reflection of your maintenance skills.
Physical wear matters just as much as contamination. Once your pads are down to 1-2mm thickness (most have a wear indicator groove that disappears when they’re done), replacement is the only safe option. Similarly, deep grooves, cracking, or chunks missing from the pad surface mean it’s time to shop, not scrub.
Making the call to replace rather than clean isn’t admitting defeat. It’s making a smart decision about your safety and bike performance. Fresh pads aren’t expensive, and knowing when to invest in them shows you understand your bike’s needs.
Now you’ve got the know-how to keep your brakes performing at their best. Cleaning your brake pads isn’t just about maintaining your bike, it’s about taking control of your safety and riding experience. That confident squeeze of the brakes, knowing they’ll respond exactly when you need them? That’s the reward for a job you’ve learned to do yourself.
Make brake pad cleaning part of your regular bike care routine, just like checking tire pressure or wiping down your chain. A quick inspection after wet rides or dusty trails takes minutes but makes all the difference. You’ve got this, and your bike, and every ride ahead, will be better for it.